OneSignal web push notification plugin review & setup guide: Push notification is an alert that pops up on your Smartphone that prompts you to do something the calls you to action it allows you to speak directly to app users at the right time and the right place. It’s very immediate and it’s hard to ignore with great power comes great responsibility as well.
Table of Contents
About OneSignal Push Notification:
There’s a couple of different styles that you need to know about OneSignal push notifications so first of all, you will get default style which is just the text maybe there is a merge tag or emoji in there as well, but it’s an update or its promotion.

The second type is an interactive push this means that you can allow users to respond directly from the interface of the push notification without opening up your mobile app so as an example that could mean that you want to ask customers will you be attending the event tonight yes or no. So you can have this as an interface which is very rich and it’s very immediate and customers don’t have to open up the app to respond.
Push notifications are real-time they’re fast or interactive; you can engage people as they walk by your business.
Why OneSignal Push Notification?
When you post new content now this is something that’s been going on for a couple of years you probably have seen on the internet is you have 100% delivery rate whereas when you send an email out with a new blog post you may be filtered out by spam filters you may be filtered into the promotions folder you may be filtered wherever so you’re not getting a hundred percent delivery whereas with OneSignal Push notifications you are getting a hundred percent delivery to all the people who have allowed the notification.
OneSignal web push notification plugin review & setup guide
OneSignal Web Push Notification Plugin Setup Guide:
When you have been to websites and get offered a little pop-up asking you to allow notifications. This little gizmo converts up to 10 times better than email. So it’s a must-have for your website. I’ll tell you a step-by-step procedure on how to set up the OneSignal plugin to create web push notifications for visitors that come to your website where if they accept the web push they can get notifications in their browsers.
Set up the OneSignal Plugin:
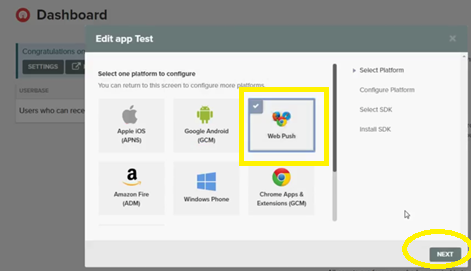
Select ‘add app’ and name your app you can name it whatever you like you will start by selecting web push this setting will automatically work for browsers on both desktop and Android devices. Keep in mind Apple still does not currently support web push on IOS devices like iPhone and iPad if you want to send notifications to iPhones and iPads you will need an iOS mobile app.

Step 1– Select a WordPress integration this is very important for your plugin settings to work properly.
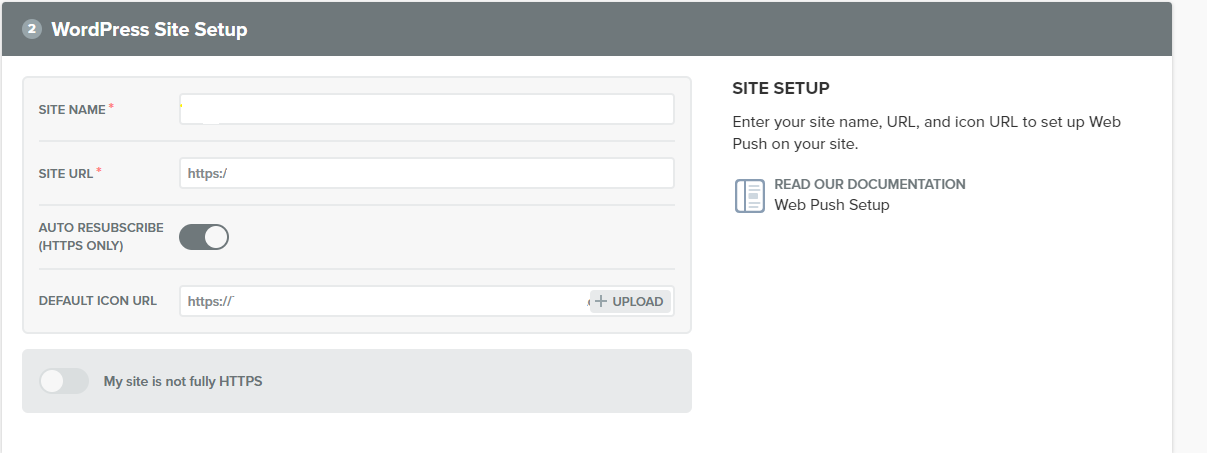
Step 2– Input your site info. for site URL it is also very important to put your correct domain the way it is seen in the browser when you visit the site. I suggest going to your site to copy and paste the exact URL into this field double-check the URL to make sure it is using HTTP or HTTPS and WW or 9ww correctly.

Next upload your default notification icon this is also the icon we will show in the OneSignal prompts. We need to go into our WordPress add in an area to download and install the OneSignal plugin you in the plugin configuration options.
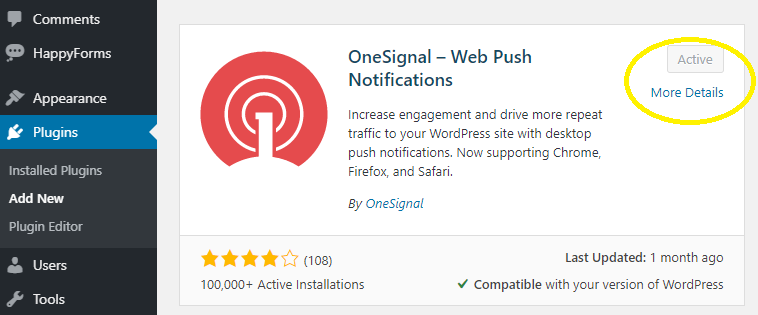
All we have to do is go over to plugins and click on ‘add new’ then proceed to ‘install now’ and then ‘activate now’. We have a new option at the very bottom left-hand menu called one ‘signal push’ click on that to open the “Settings” for the plugin.
(your setup is not complete)
OneSignal web push notification plugin review & setup guide
We need the app ID and the rest API keys, to get a web push on our block, one creates a OneSignal account. We create the web push app in OneSignal which is inside the account that then we set the web push app following instructions in the web push editor and that is everything. So click on and hold down command ctrl on Windows click on it to open in a new tab.
Create your account by clicking on the web push using your email or Google or Facebook if you prefer those.
Also Read – Rank Math SEO Plugin review and setup guide:
Click on the checkbox and click on create an account now we have to go to our email account and set up the confirmation email and click on the confirmation email. Our account is confirmed and we’ll be logged in to it immediately which means you are now successfully subscribed to your website.
Select all users to see all subscribe to user records to your site if you don’t see any devices or if you see an error please double check that you selected the WordPress integration and added your site URL correctly. If you are using a security a CDN plug-in you may also see an error but don’t worry there is a troubleshooting guide that will help explain common fixes to these plugin settings. Let’s add our browser as a test user select options add to test users and name it, we are now ready to send ourselves a notification.
Click the messages tab then-new push let’s add a title and message to our notification then scroll to the bottom to select confirm and send message.
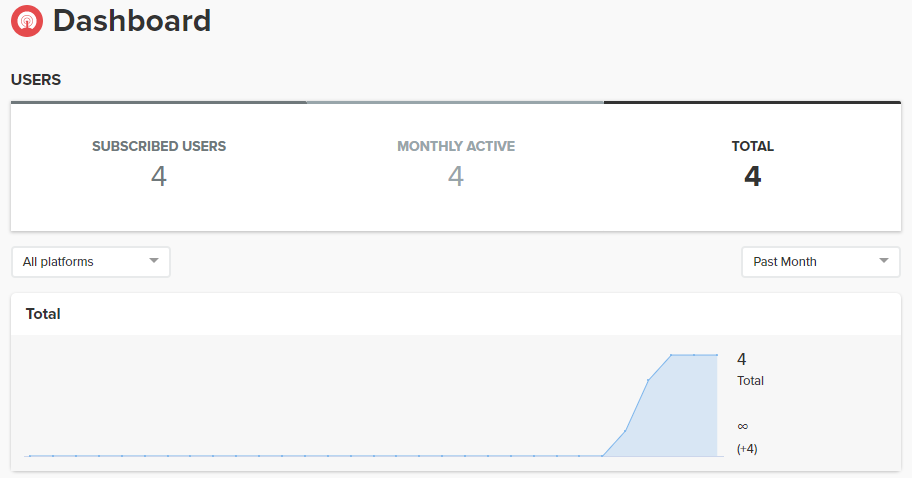
All right we did it you can see the notification appear on the screen and in the dashboard we see the notification statistics.

Click the notification back in the dashboard you see the stats were updated in real-time that’s it congratulations you have successfully integrated OneSignal into your website.


I blog quite often and I truly appreciate your information. The article has really peaked my interest.
I will bookmark your blog and keep checking
for new details about once per week. I opted in for your RSS feed
as well.
Hi Sir
Very Good Article n Awsome Informations
Thanks Keep it up
Hi Sunnan,
Thank you so much for your lovely comment